20 Amazing Hydrangea Landscaping Ideas on a Budget
- Start With Cuttings Instead of Nursery Plants
- Line a Walkway With a Single Variety
- Use Them to Hide an Ugly Foundation
- Repurpose Free Mulch From Local Sources
- Create a Cottage-Style Border With Mixed Heights
- Plant a Hedge Instead of Buying a Fence
- Use Old Bricks or Pavers as Edging
- Grow a Single Statement Shrub by the Front Door
- Change Bloom Color With Soil Amendments You Already Have
- Fill Gaps With Divided Perennials From Your Own Yard
- Build a Simple Gravel Path Through the Bed
- Use Hydrangeas to Frame a Mailbox or Lamppost
- Skip Store-Bought Trellises and Use Branches
- Create a Shade Garden Under Trees
- Repeat One Color Palette Across the Whole Yard
- Use Dried Hydrangea Blooms for Fall and Winter Interest
- Plant in Large Repurposed Containers
- Add a DIY Rain Chain or Downspout Feature Nearby
- Use Hydrangeas to Soften a Retaining Wall
- Swap Grass for a Hydrangea and Groundcover Bed
20 Amazing Hydrangea Landscaping Ideas on a Budget
Hydrangeas have a way of making a yard look expensive even when you barely spent anything. Those big, billowy blooms just read as “someone put thought into this,” even if that someone mostly just watered them and hoped for the best. If you’ve been eyeing hydrangeas but assumed a gorgeous garden meant a gorgeous bill, I’m here to tell you that’s not the case at all.
I’ve pulled together twenty ways to work hydrangeas into your landscaping without draining your wallet. Some of these use plants you propagate yourself, some lean on cheap materials you probably already have access to, and others just rearrange what you’re already growing into something more intentional. Let’s get into it.
Start With Cuttings Instead of Nursery Plants
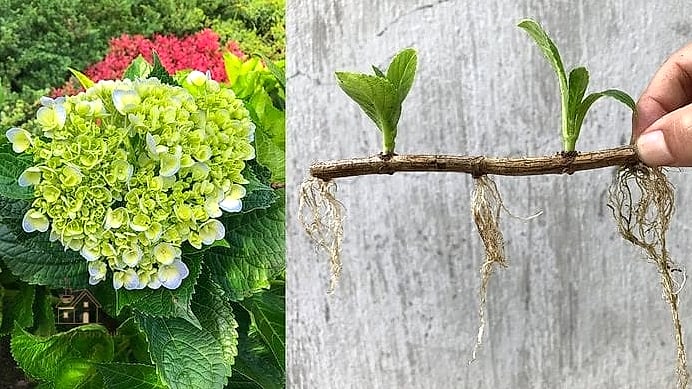
The single biggest money-saver in hydrangea landscaping is skipping the nursery altogether. Hydrangeas root incredibly easily from cuttings taken off a healthy, established shrub.
Ask a neighbor, a family member, or check local plant swap groups online for a few stems. Snip below a leaf node, strip the lower leaves, and stick it in moist soil or water until roots form. Within a season or two you’ll have a full plant that cost you nothing but patience.
This works especially well if you’re trying to fill a large bed, since one donor plant can give you a dozen cuttings.
Line a Walkway With a Single Variety
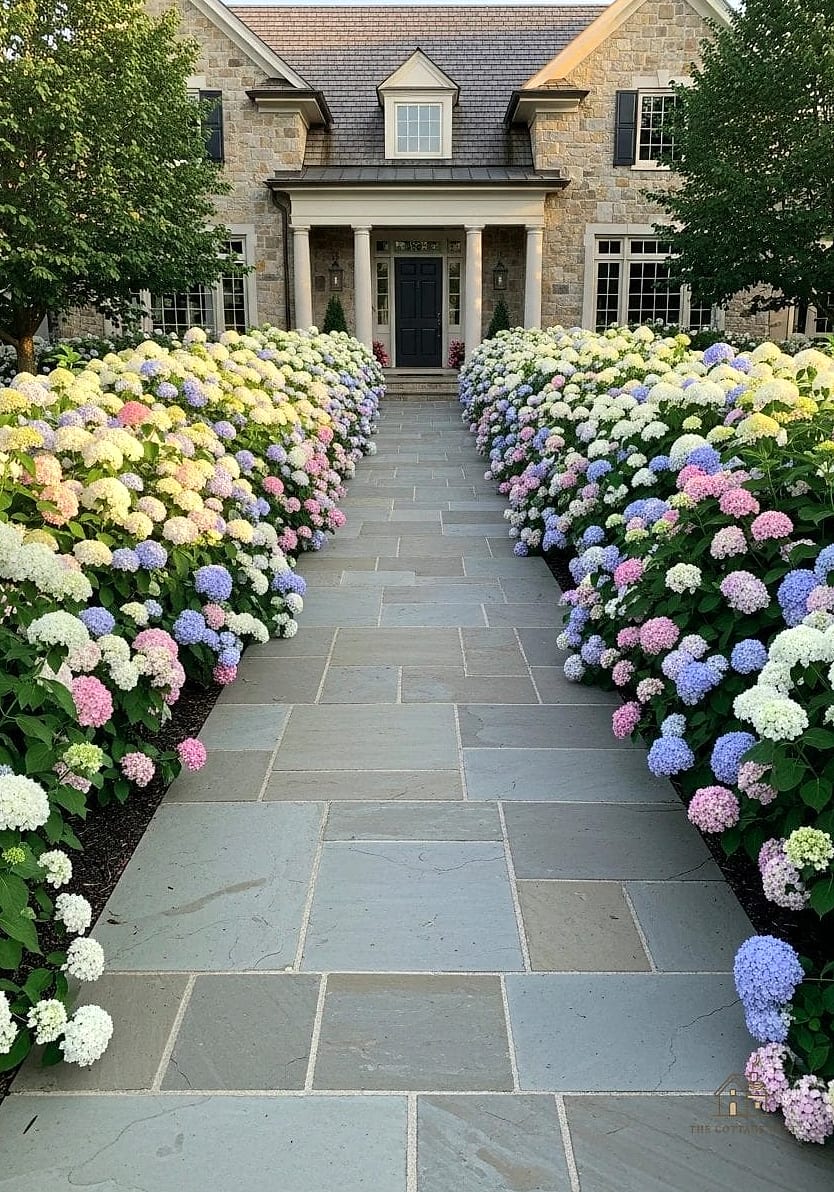
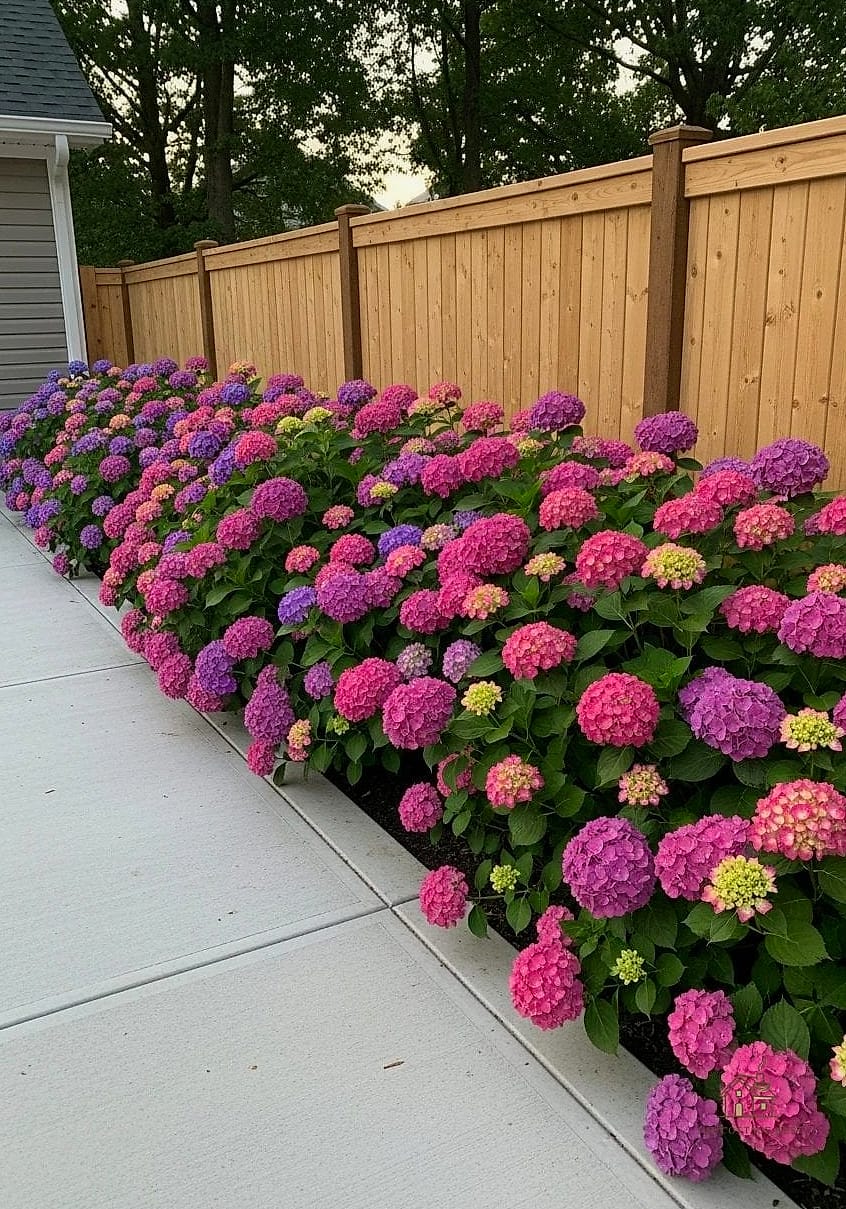
Rather than mixing several hydrangea types, plant one variety in a straight or gently curved row along a front walk or side path. Repetition reads as intentional design, even with budget plants.
Annabelle hydrangeas work great here because they’re forgiving and produce those big white mophead blooms that catch the eye from the street. Space them evenly and let their natural shape do the work.
This is a low-maintenance layout too, since you’re only learning the care needs of one plant instead of several.
Use Them to Hide an Ugly Foundation
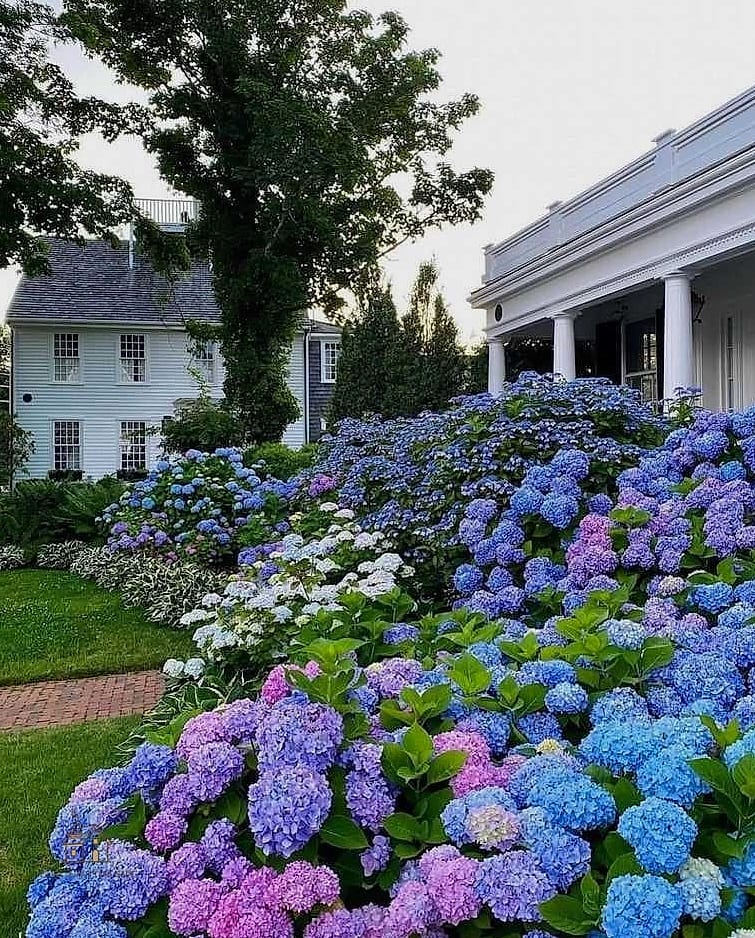
Nothing dresses up a plain concrete foundation like a row of hydrangeas planted right along it. This is one of those upgrades that instantly makes a house look more finished without touching the actual structure.
Panicle hydrangeas are a smart pick here because they tolerate more sun and stay fairly upright, so they won’t flop over and expose the foundation again after a rainstorm. Mulch heavily around the base to cut down on weeding and water loss.
Repurpose Free Mulch From Local Sources
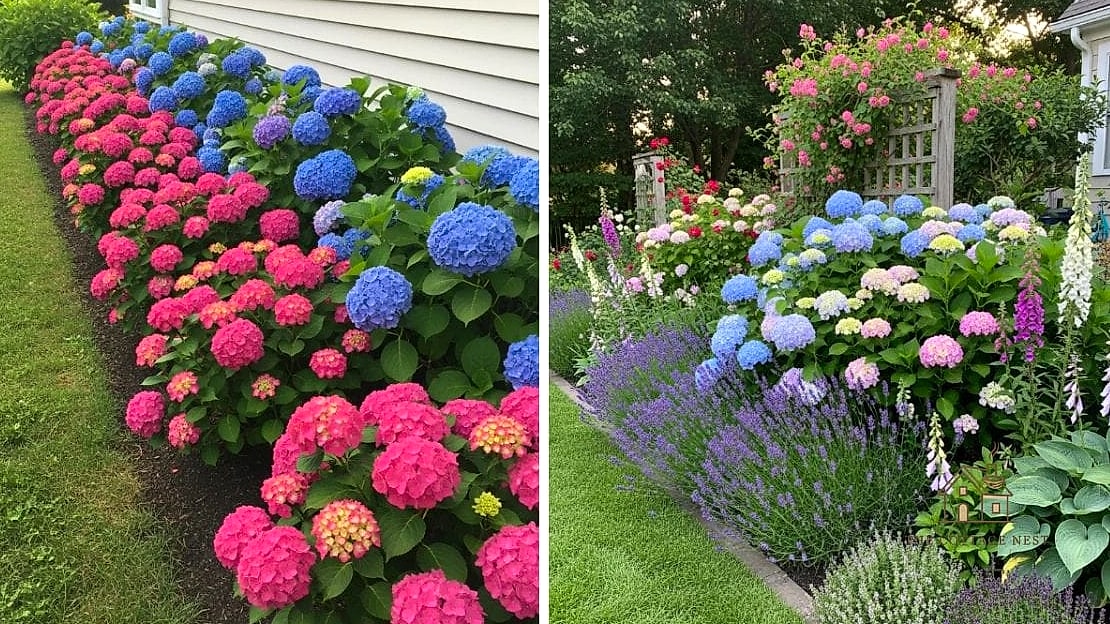
Mulch keeps hydrangea roots cool and cuts your watering bill significantly, but bagged mulch adds up fast if you’re covering a big area. Many cities and tree removal companies give away wood chips for free just to get rid of them.
Check community boards or call local arborists directly. A truckload of chips can mulch an entire hydrangea bed for the cost of gas money, and it breaks down into decent soil over time too.
Create a Cottage-Style Border With Mixed Heights
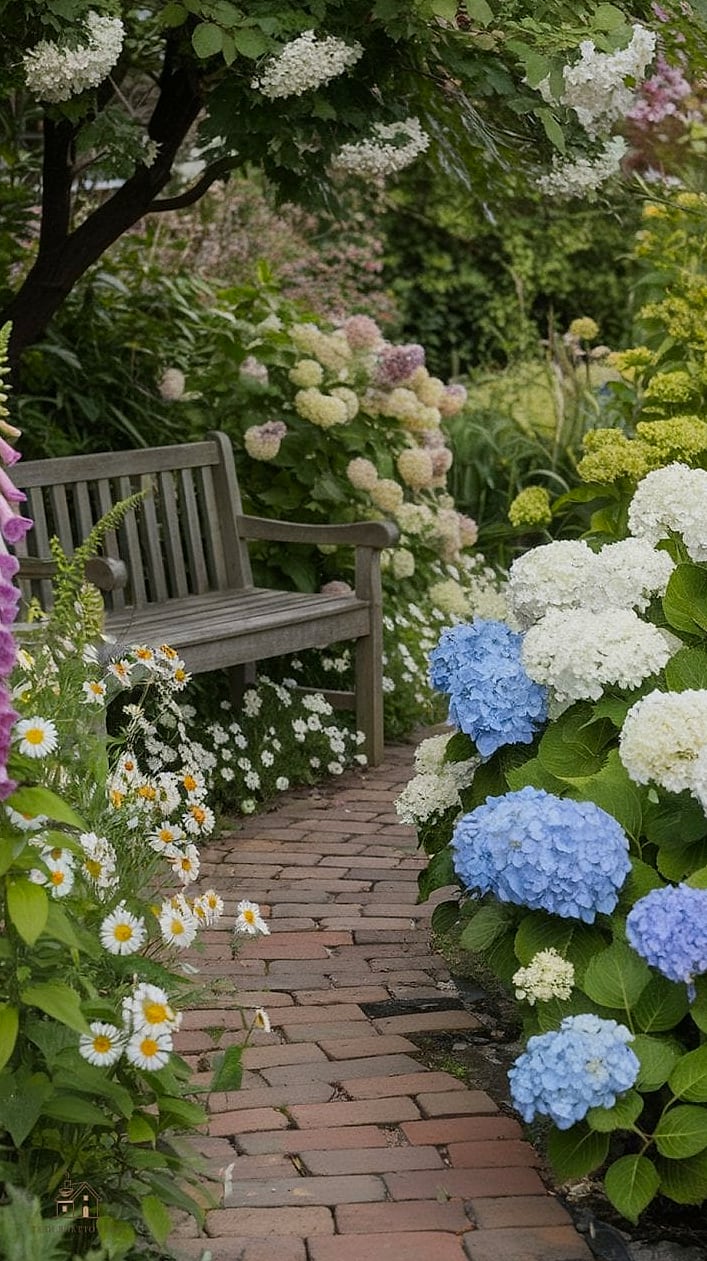
Hydrangeas don’t have to stand alone. Pair them with cheap perennials like daylilies, black-eyed Susans, or catmint in front of them to create a layered, cottage-garden look.
The trick is putting shorter plants in front so the hydrangea blooms peek out behind, creating depth without needing to buy more hydrangeas. This look feels lush and collected over time, like it’s been growing for years even in its first season.
Plant a Hedge Instead of Buying a Fence
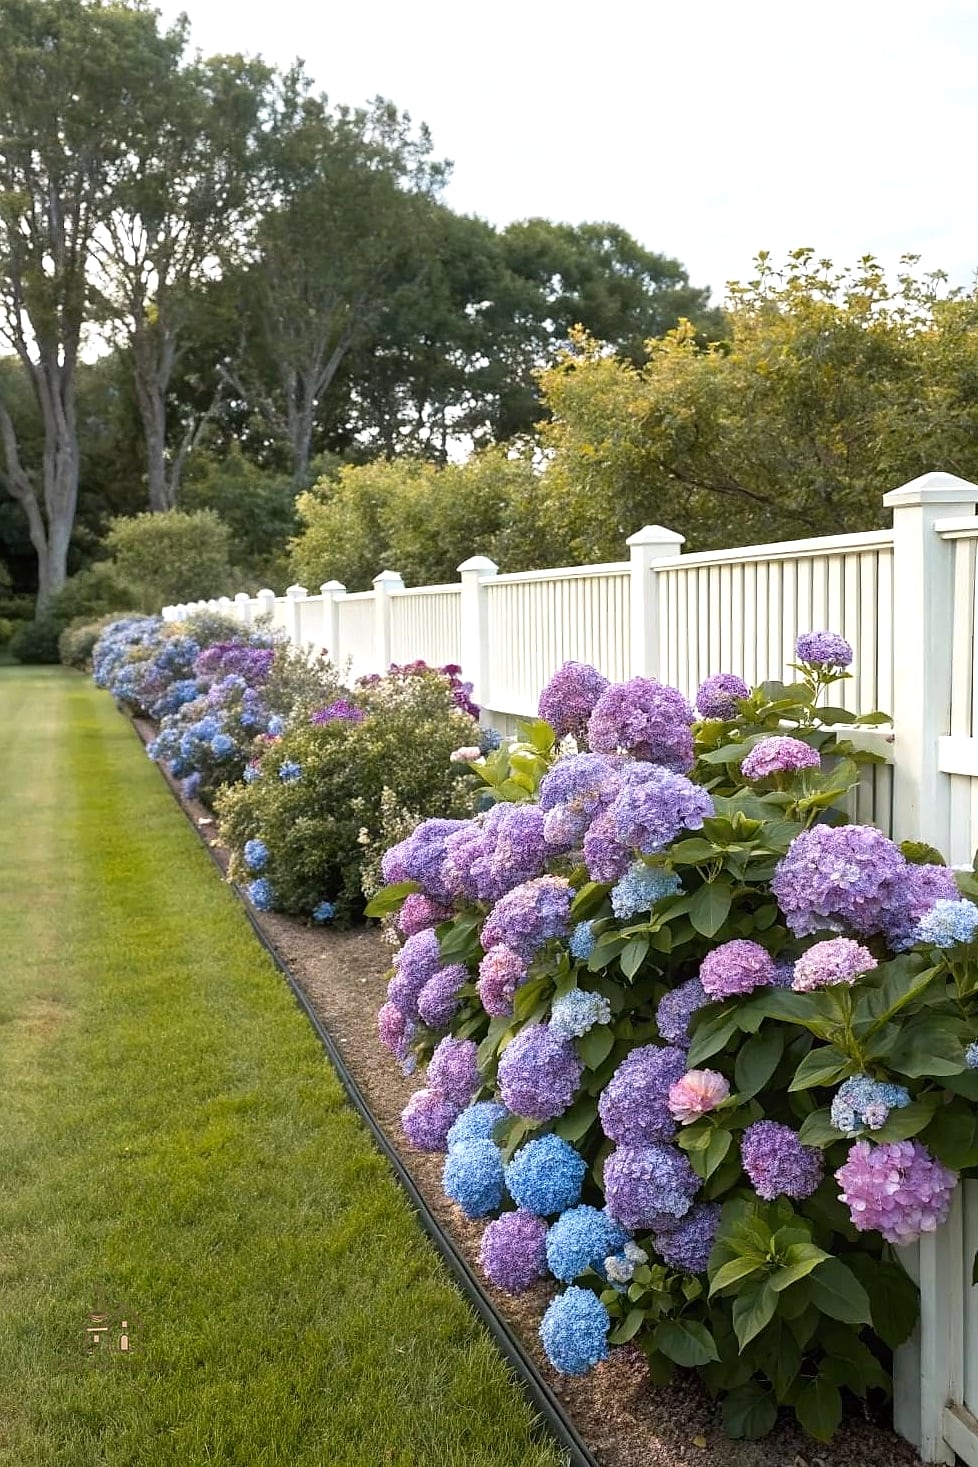
If privacy is the goal, hydrangeas can act as a soft, living fence for a fraction of what a wood or vinyl fence costs. Oakleaf and panicle varieties get tall and dense enough to block sightlines from neighbors or the street.
Space plants about three feet apart so they’ll fill in and touch within a couple of growing seasons. It takes patience, but you end up with something far prettier than a fence and it never needs staining or repair.
Use Old Bricks or Pavers as Edging
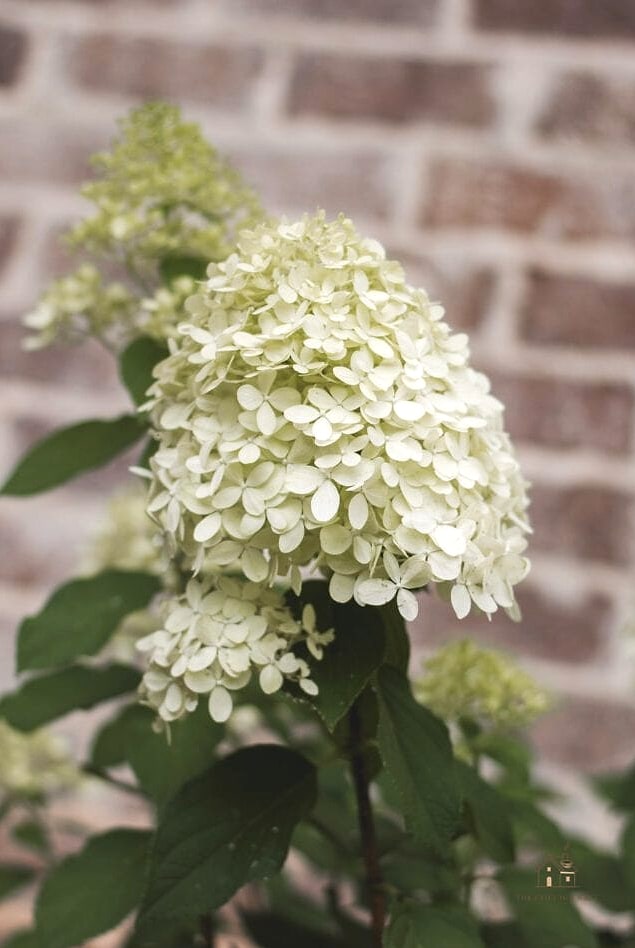
If you’ve got leftover bricks from another project, or can grab some secondhand from a demolition site or online marketplace, they make excellent low-cost bed edging for hydrangea plantings.
Lay them in a simple soldier row or angle them for a scalloped effect. This small detail keeps mulch contained and gives the whole bed a finished, deliberate look without spending on formal landscape edging.
Grow a Single Statement Shrub by the Front Door
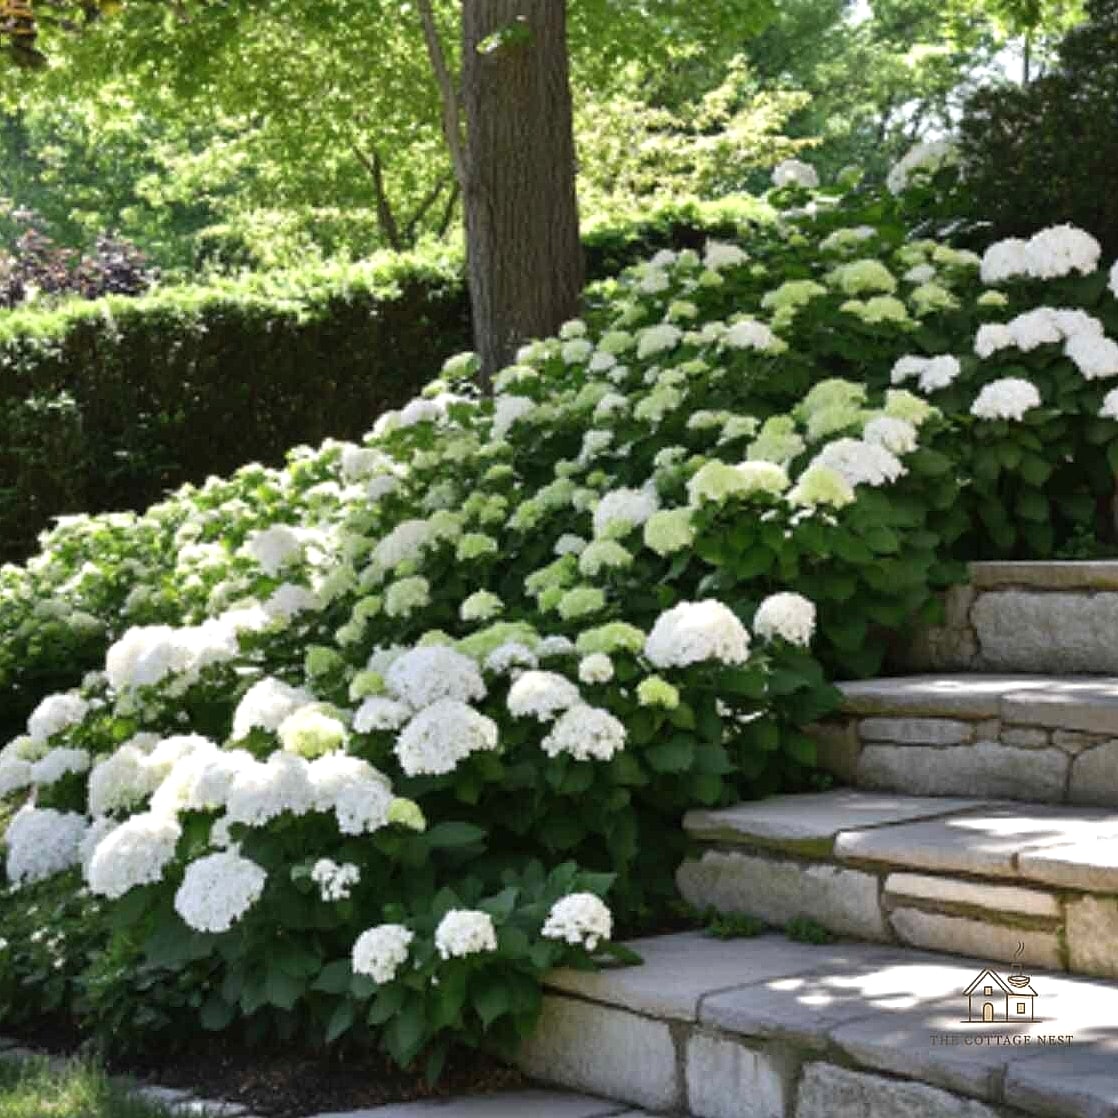
You don’t need a whole garden to make an impact. One well-placed hydrangea near your entryway can do more visual work than a dozen scattered around the yard.
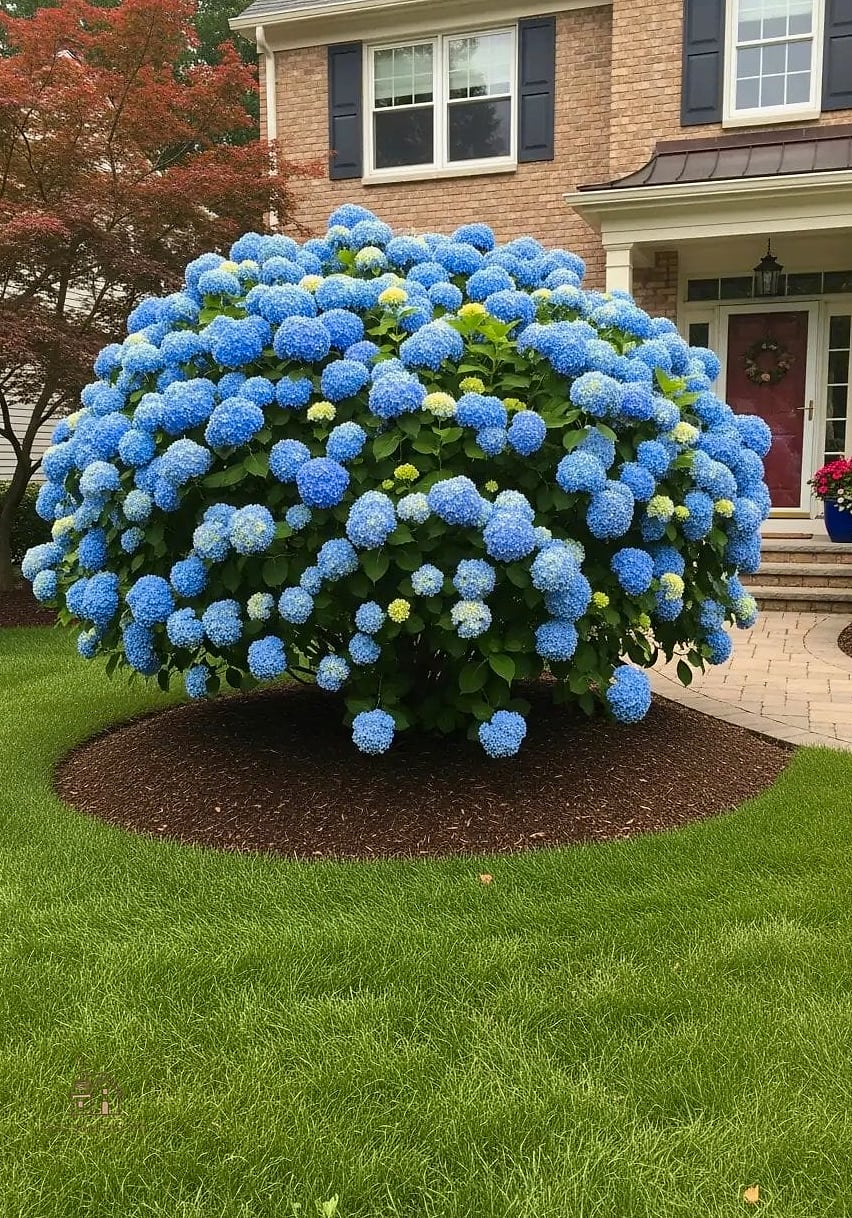
A mophead variety in a soft blue or pink looks especially welcoming flanking a porch step or planted in the corner where the walkway meets the house. Keep it simple with just mulch around the base rather than adding other plants that compete for attention.
Change Bloom Color With Soil Amendments You Already Have
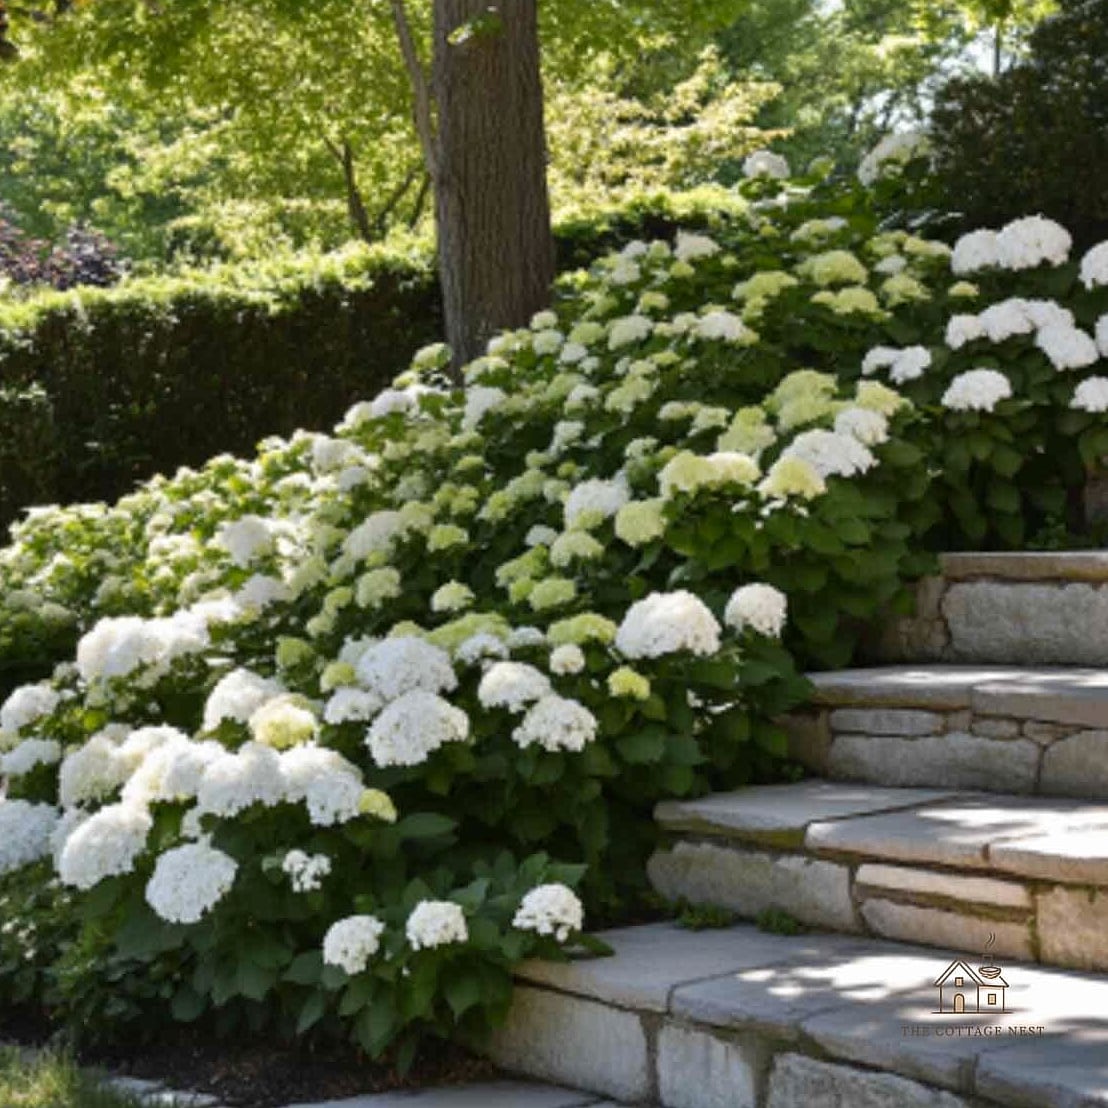
Here’s a fun budget trick specific to hydrangeas: for varieties like bigleaf hydrangeas, you can shift bloom color using things you likely have around the house. Coffee grounds and used tea bags added to soil can push blooms toward blue over time by increasing acidity, while crushed eggshells can nudge things pink by adding calcium.
It’s not an overnight fix and results vary by soil type, but it’s a free experiment that makes gardening feel a little more like a science project.
Fill Gaps With Divided Perennials From Your Own Yard
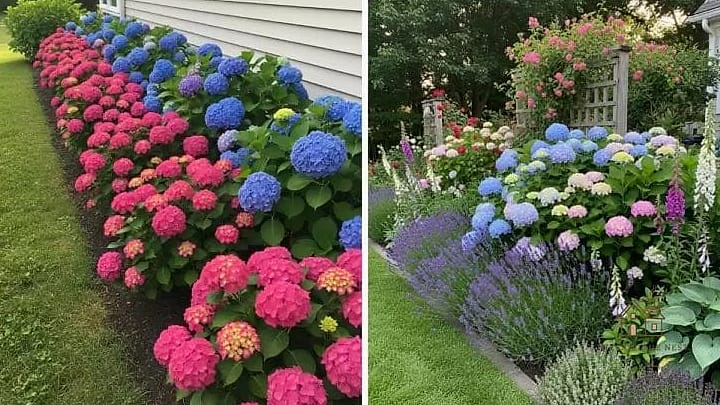
Before buying companion plants for your hydrangea bed, look at what’s already growing elsewhere in your yard. Hostas, daylilies, and ornamental grasses can often be divided and transplanted for free.
This lets you fill out a new hydrangea bed with mature-looking plants immediately instead of waiting on small nursery starts to fill in, and it saves you a trip to the garden center entirely.
Build a Simple Gravel Path Through the Bed
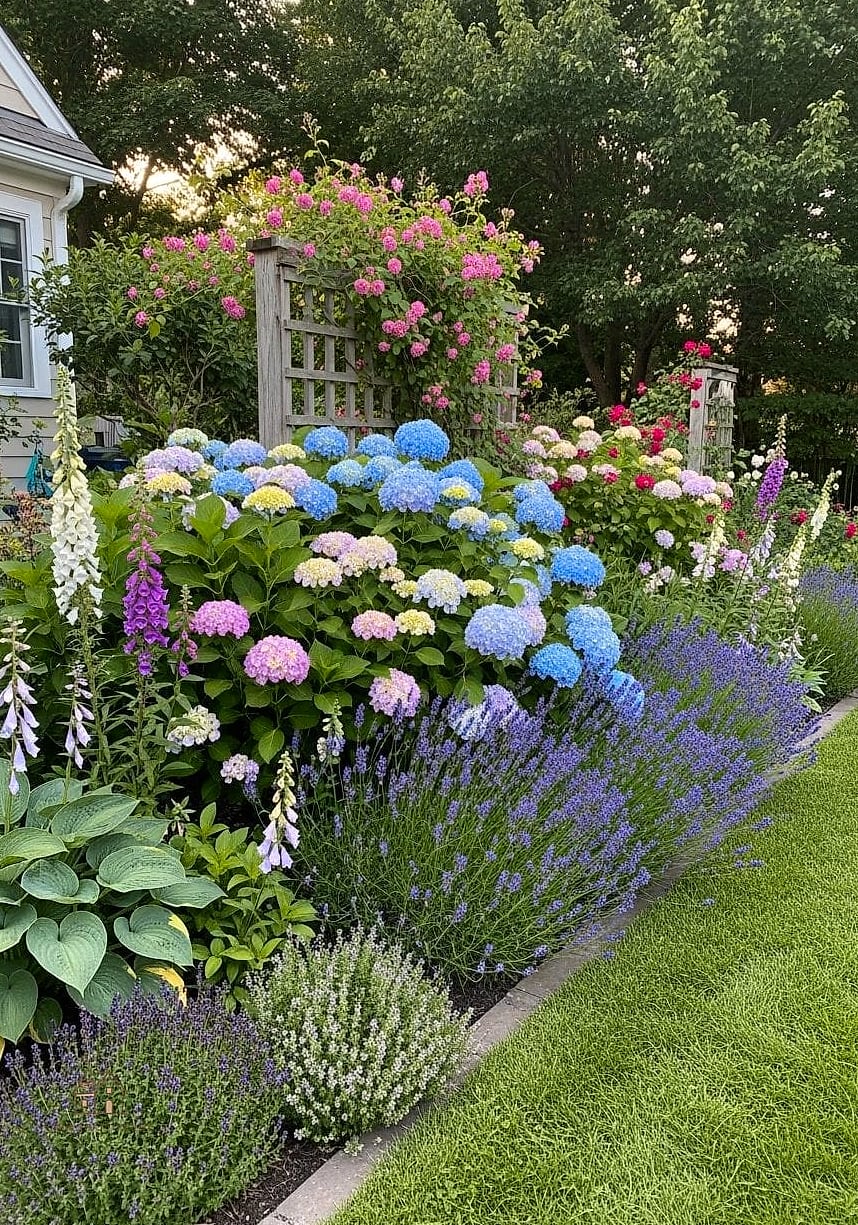
A narrow gravel path winding between hydrangea plantings gives a garden that established, walkable feel you’d expect from a much pricier landscape design. Pea gravel is inexpensive per bag and easy to lay yourself over a bit of landscape fabric.
This works particularly well in larger beds where you want to be able to deadhead blooms or check on plants without stepping in mulch or mud after rain.
Use Hydrangeas to Frame a Mailbox or Lamppost
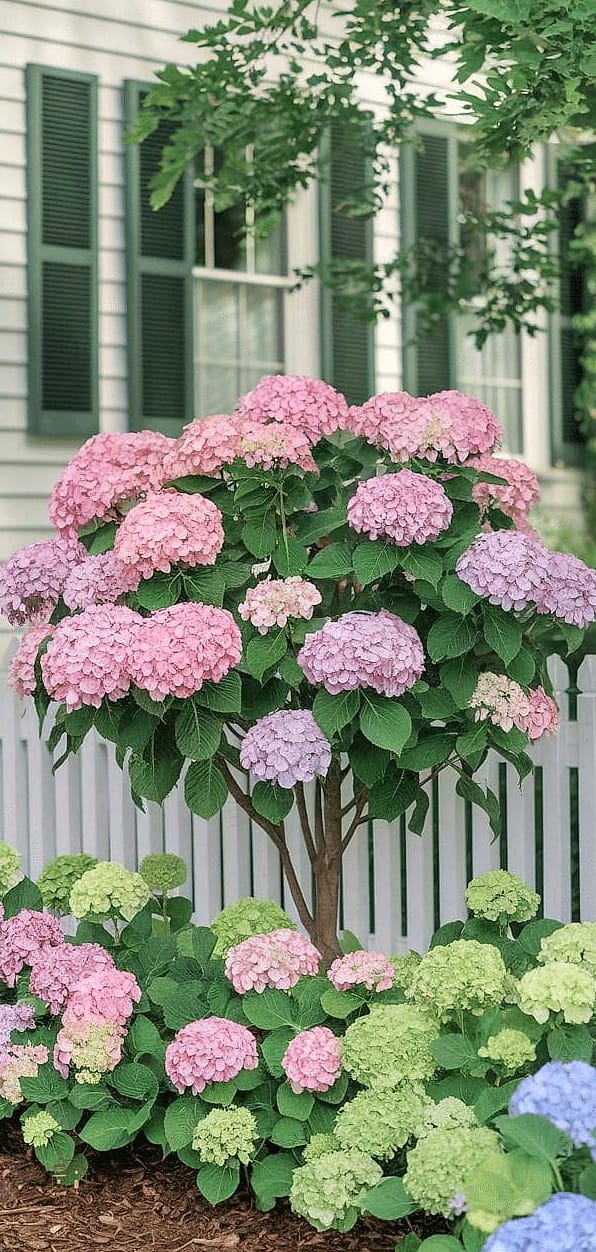
A small cluster of two or three hydrangeas planted around the base of a mailbox post instantly upgrades a spot that usually just gets ignored. It’s a tiny footprint project that makes a big visual difference from the street.
Pick a compact variety so it doesn’t overtake the post, and keep the planting symmetrical for a tidy, cared-for look.
Skip Store-Bought Trellises and Use Branches
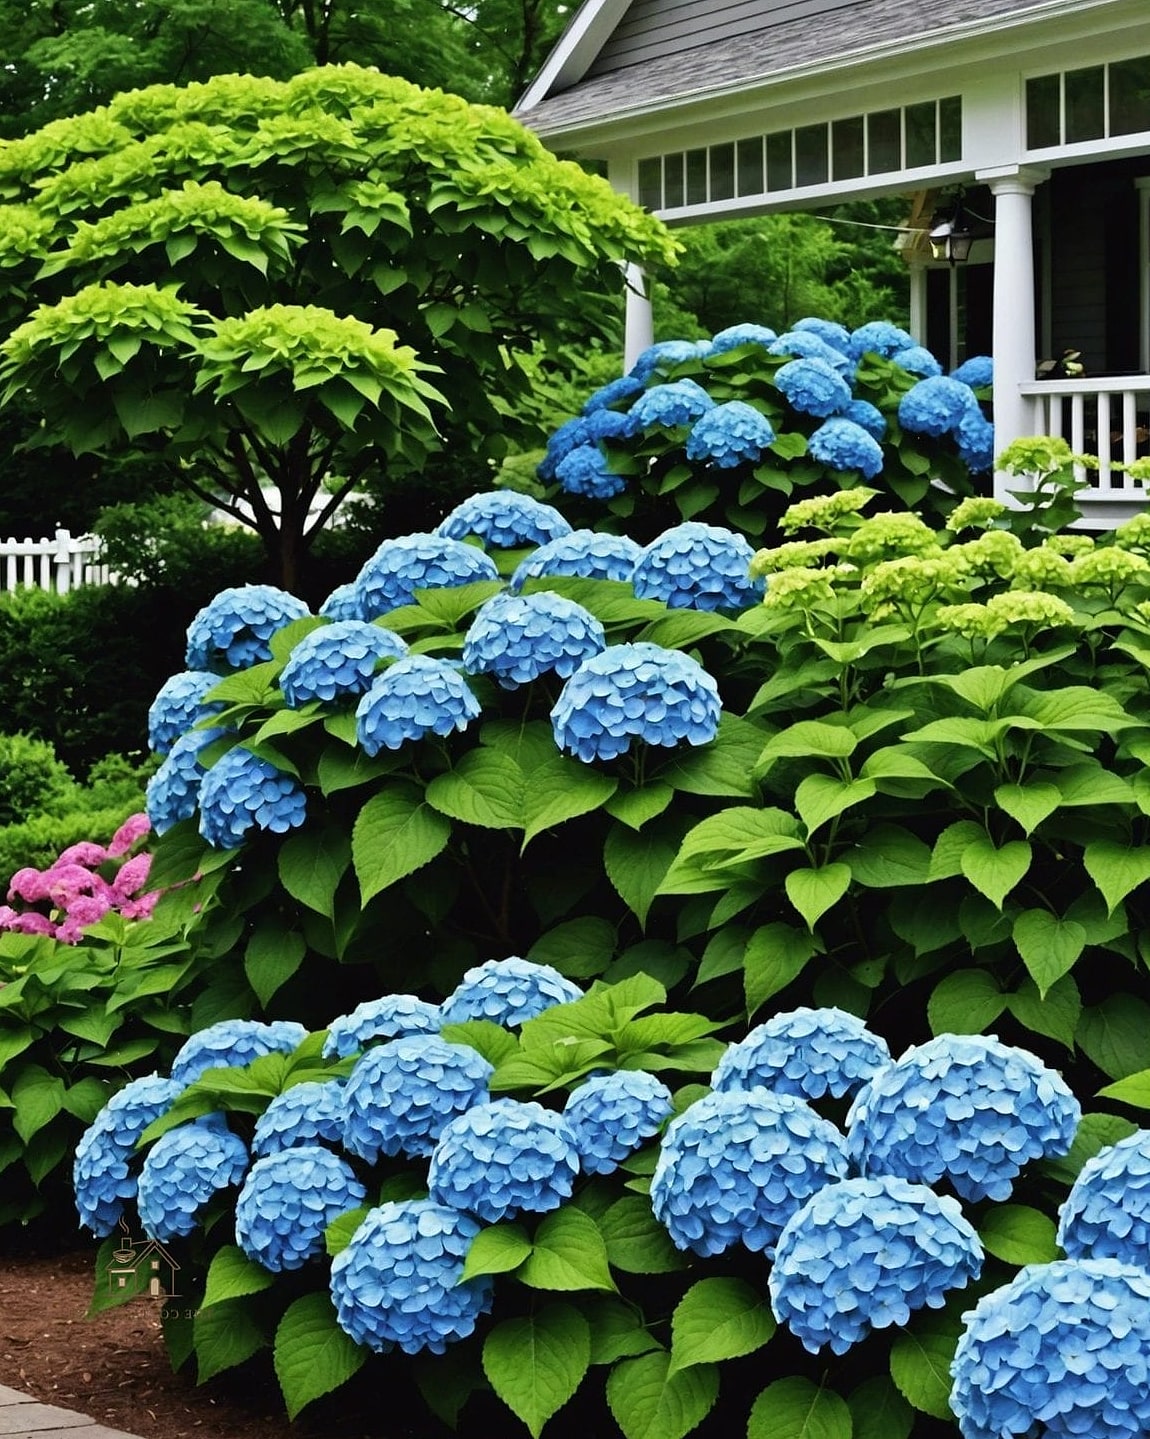
Climbing hydrangea varieties need some support while they establish, but you don’t need to buy a trellis. Fallen branches, an old ladder, or even scrap wood arranged in a simple lattice pattern will do the job just fine.
Attach it to a fence or wall and let the vine climb naturally. Over a few seasons it’ll cover the support entirely, so the material underneath barely matters.
Create a Shade Garden Under Trees
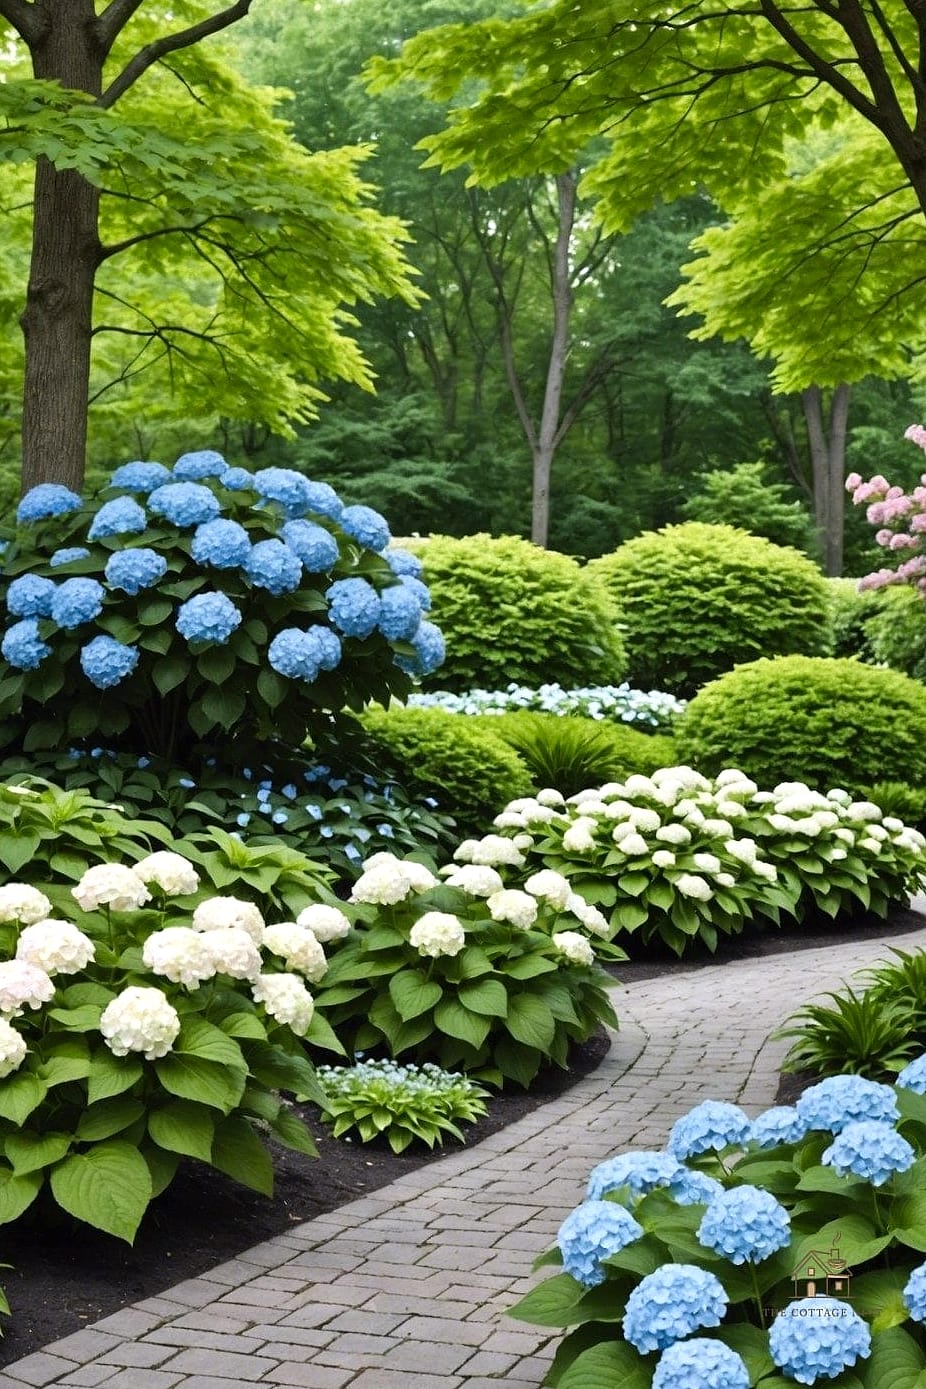
Most yards have at least one shady spot under a tree where grass struggles to grow. Instead of fighting that battle, turn it into a hydrangea bed. Many varieties actually prefer some afternoon shade and will bloom better there than in full sun.
Underplant with shade-tolerant groundcovers like sweet woodruff or wild ginger to fill in bare soil and cut down on weeding.
Repeat One Color Palette Across the Whole Yard
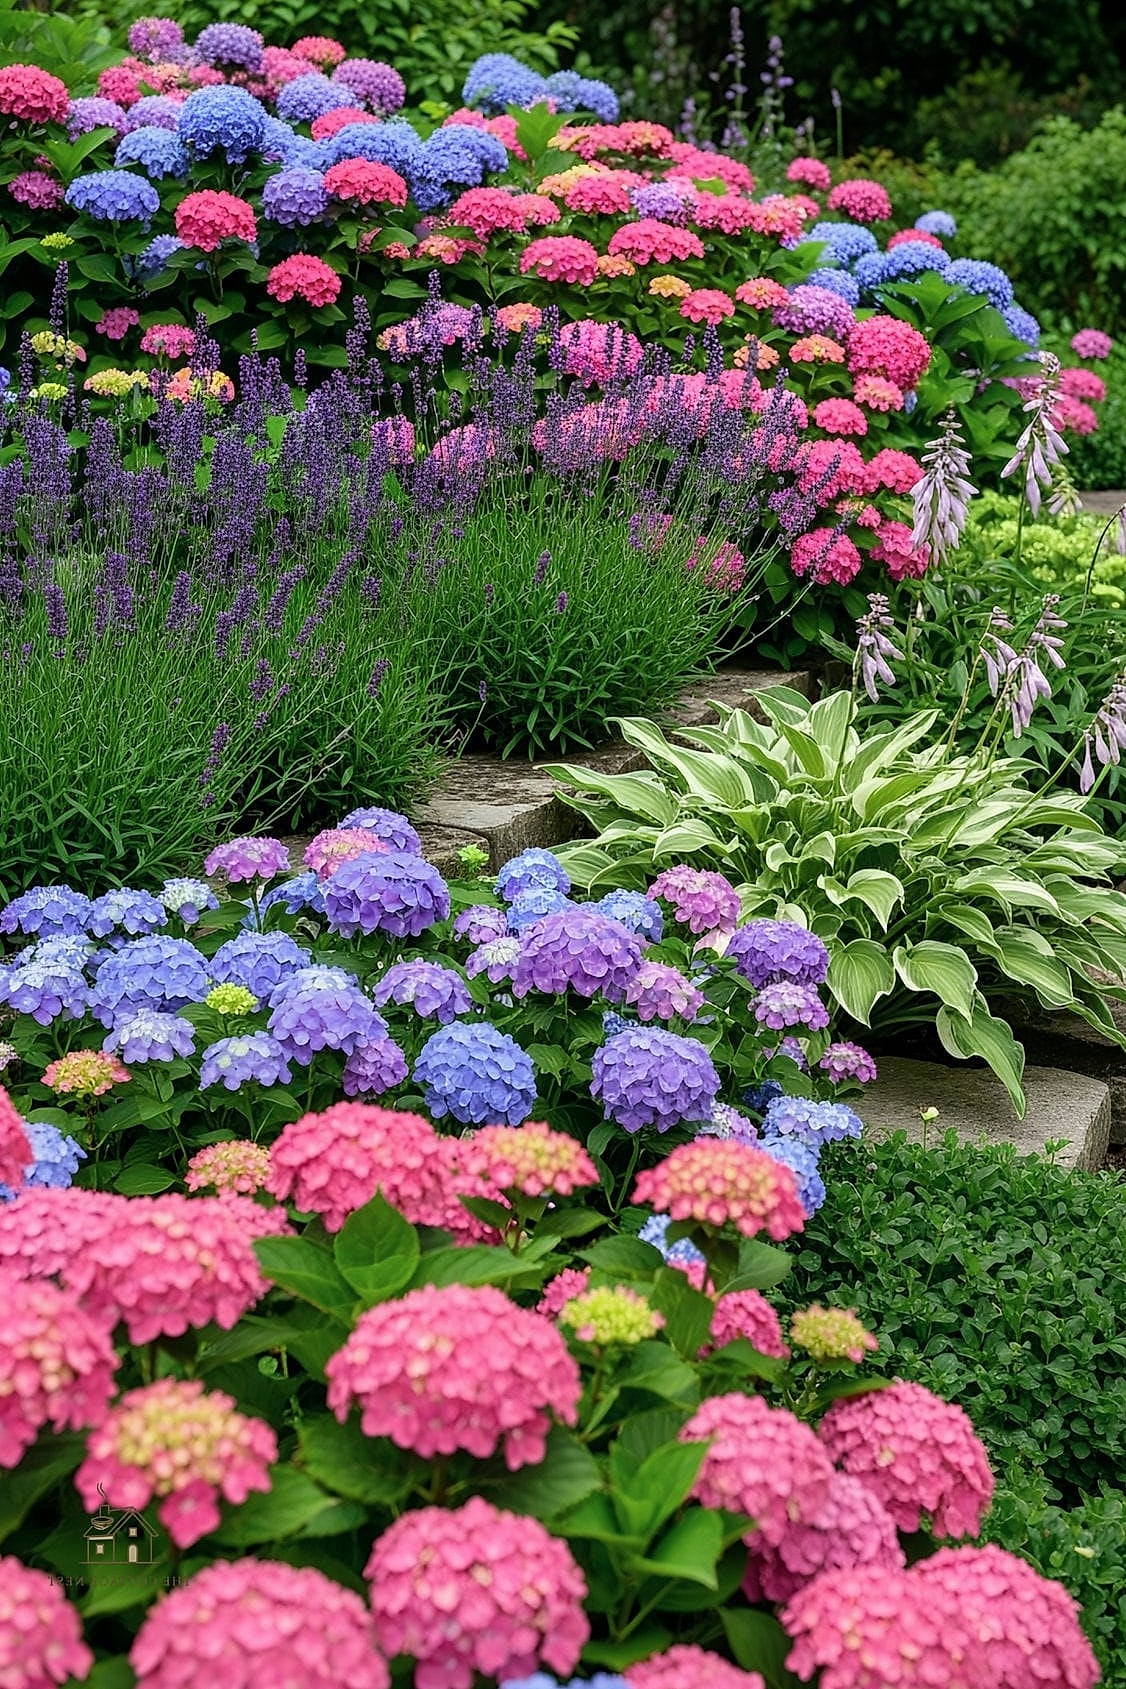
Rather than buying different hydrangea colors for different spots, stick with one palette throughout your landscaping. A yard full of soft blue hydrangeas, for example, feels curated and cohesive in a way that mixed colors sometimes don’t.
This also simplifies your soil amendment routine since you’re not trying to manage different pH needs in different beds.
Use Dried Hydrangea Blooms for Fall and Winter Interest
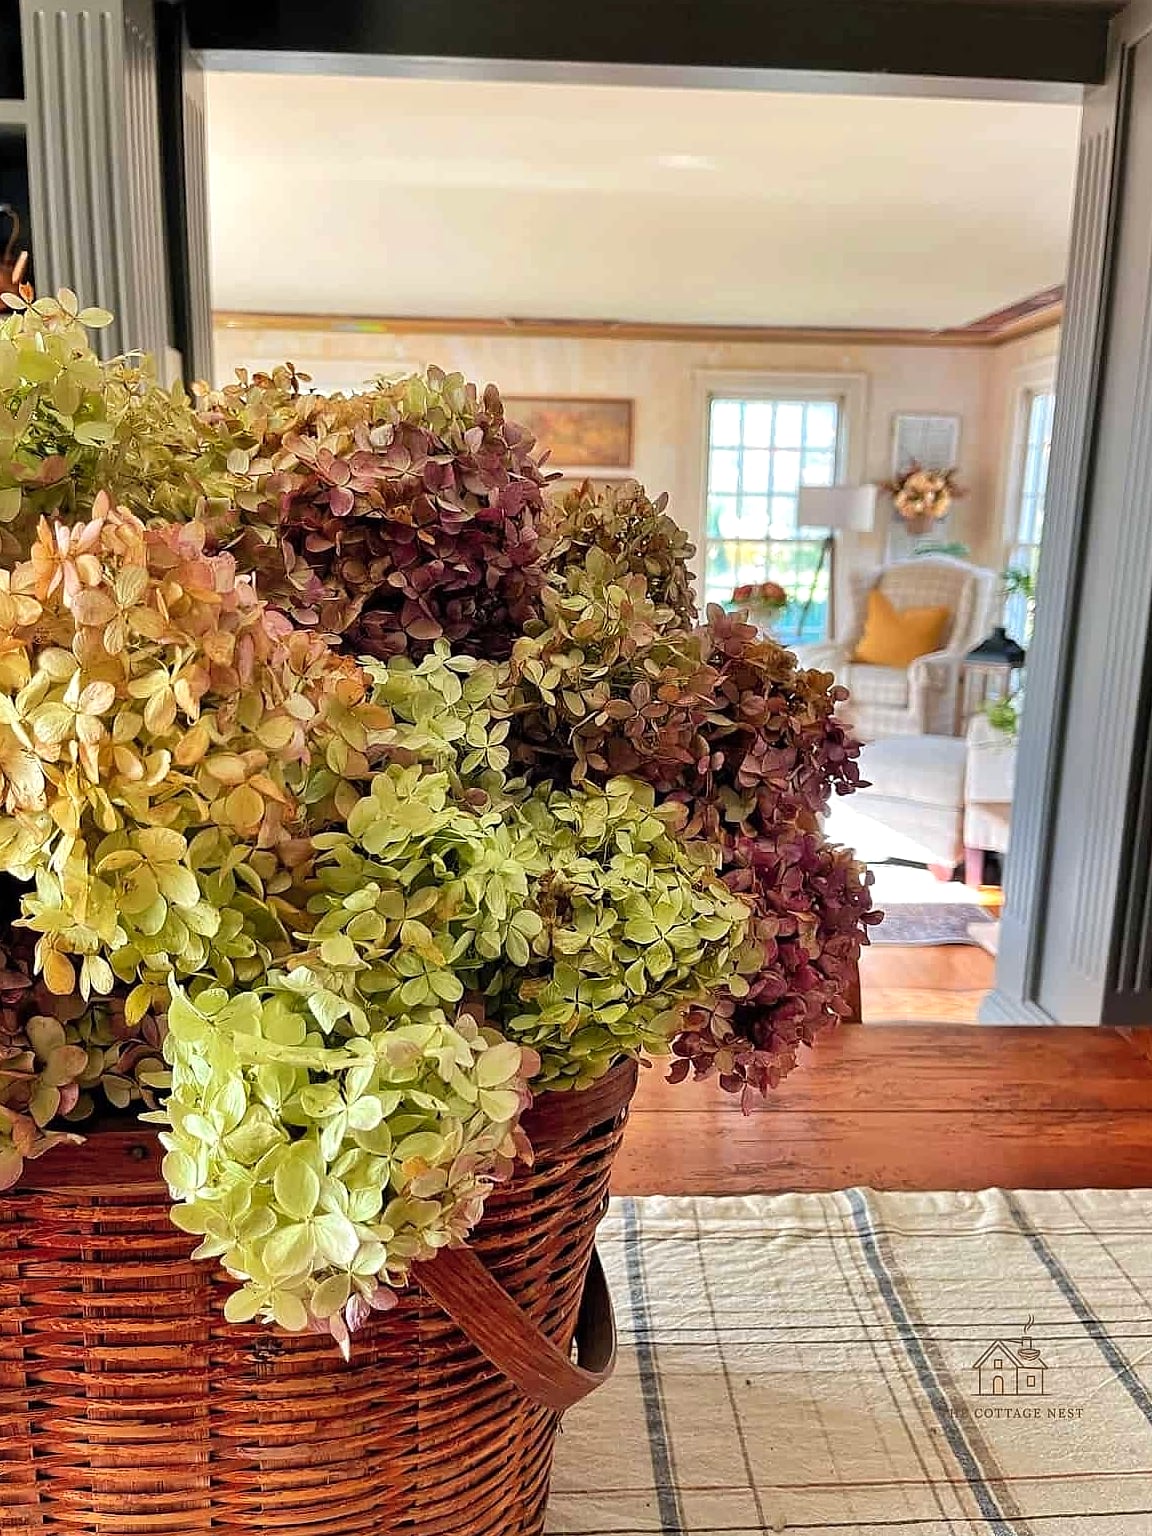
One thing a lot of people don’t realize is that hydrangea blooms dry beautifully right on the stem, especially panicle varieties. Instead of cutting them back in fall, leave the spent blooms standing.
They turn a lovely papery tan or dusty pink and add texture to the garden through winter when everything else has gone dormant. It’s free seasonal decor that requires zero extra work.
Plant in Large Repurposed Containers
If you’re renting or dealing with poor soil, hydrangeas do surprisingly well in large containers, and you don’t need to buy fancy planters. Old whiskey barrels, galvanized tubs, or even a cracked ceramic pot with the crack turned to the back all work.
Group a few containers together near a patio for a lush, layered look you can rearrange or take with you if you move.
Add a DIY Rain Chain or Downspout Feature Nearby
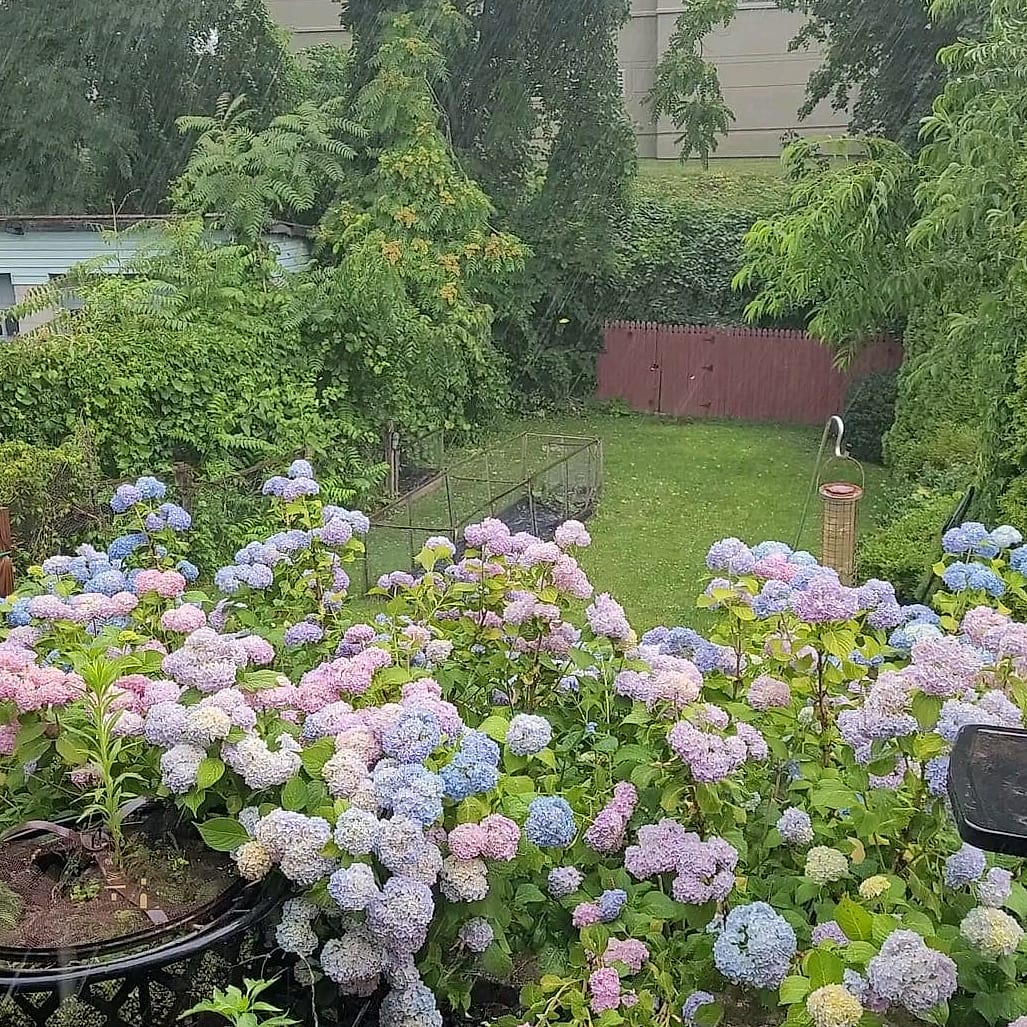
Hydrangeas are thirsty plants, so positioning them near a downspout or a simple homemade rain chain means they get extra water for free every time it rains. A rain chain can be made from cheap metal cups or even repurposed chain-link fencing pieces strung together.
It’s a small functional upgrade that also adds a nice visual element to the corner of a house that usually goes unnoticed.
Use Hydrangeas to Soften a Retaining Wall
If your yard has a retaining wall, planting hydrangeas along the top or base softens the hard edge considerably. The contrast between the structured stone or block and the loose, rounded blooms looks intentional and layered.
Panicle varieties work well at the top of a wall since they can handle a bit more sun and drainage runoff, while mopheads do nicely at the base where moisture collects.
Swap Grass for a Hydrangea and Groundcover Bed
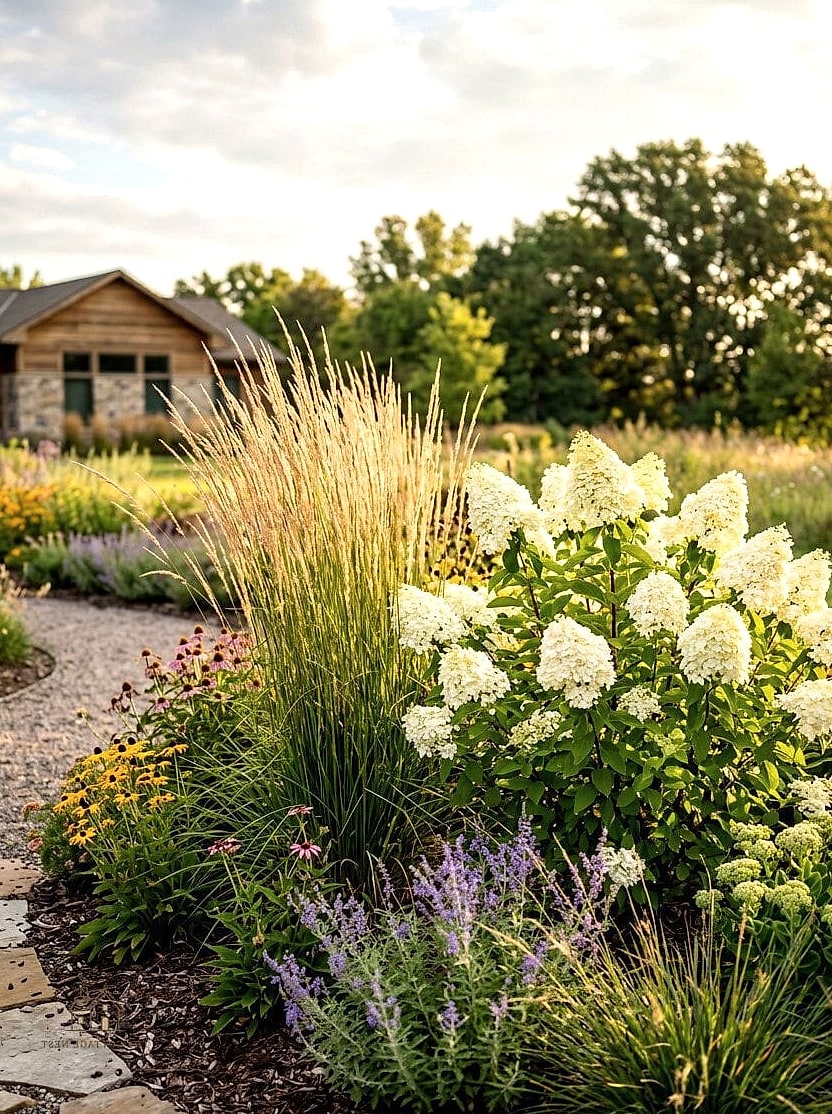
If you’ve got a patch of struggling lawn that never quite fills in, consider converting it into a hydrangea bed instead of continuing to fight for grass. Pair a few shrubs with a low-cost groundcover like creeping thyme or clover to fill the space between them.
This cuts down on mowing, uses less water overall than turf grass, and gives you way more visual interest than a lawn ever could, all while keeping the upfront cost low since groundcover spreads on its own.
Final Thoughts
The truth about hydrangea landscaping on a budget is that most of the “expensive-looking” results come down to repetition, patience, and using what you already have access to. Free cuttings, repurposed materials, and a little bit of planning go a lot further than a big nursery haul.
Pick two or three ideas from this list that fit your yard’s layout and light conditions, and build from there. Hydrangeas are forgiving plants, and honestly, half the fun is watching a few small starts turn into something that looks like it’s been there for years.